Database Migrations in Go with go-migrate

Introduction
As applications evolve, database schemas change as well. You might need to add new tables, modify existing columns, or remove outdated ones. Managing these changes manually quickly becomes difficult, especially when multiple developers are working on the same project.
Database migration tools solve this problem by keeping track of schema changes and applying them in a predictable way. They also make it easy to roll back changes if something goes wrong.
In this article, we'll learn how to manage database migrations in Go using go-migrate. We'll install the CLI, create migration files, apply them to a PostgreSQL database, and roll them back.

Prerequisites
Before we begin, make sure you have:
- A PostgreSQL database (or any supported database)
- Docker (optional, if you want to run PostgreSQL in a container)
- Basic familiarity with SQL
Step 1: Install go-migrate
We'll use the go-migrate CLI to create and run migrations.
Install it using:
curl -L https://github.com/golang-migrate/migrate/releases/latest/download/migrate.linux-amd64.tar.gz | tar xvz
sudo mv migrate /usr/local/bin/

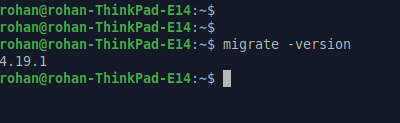
Verify that the installation was successful:
migrate -version
Step 2: Set Up PostgreSQL
If you already have PostgreSQL running locally, you can skip this step.
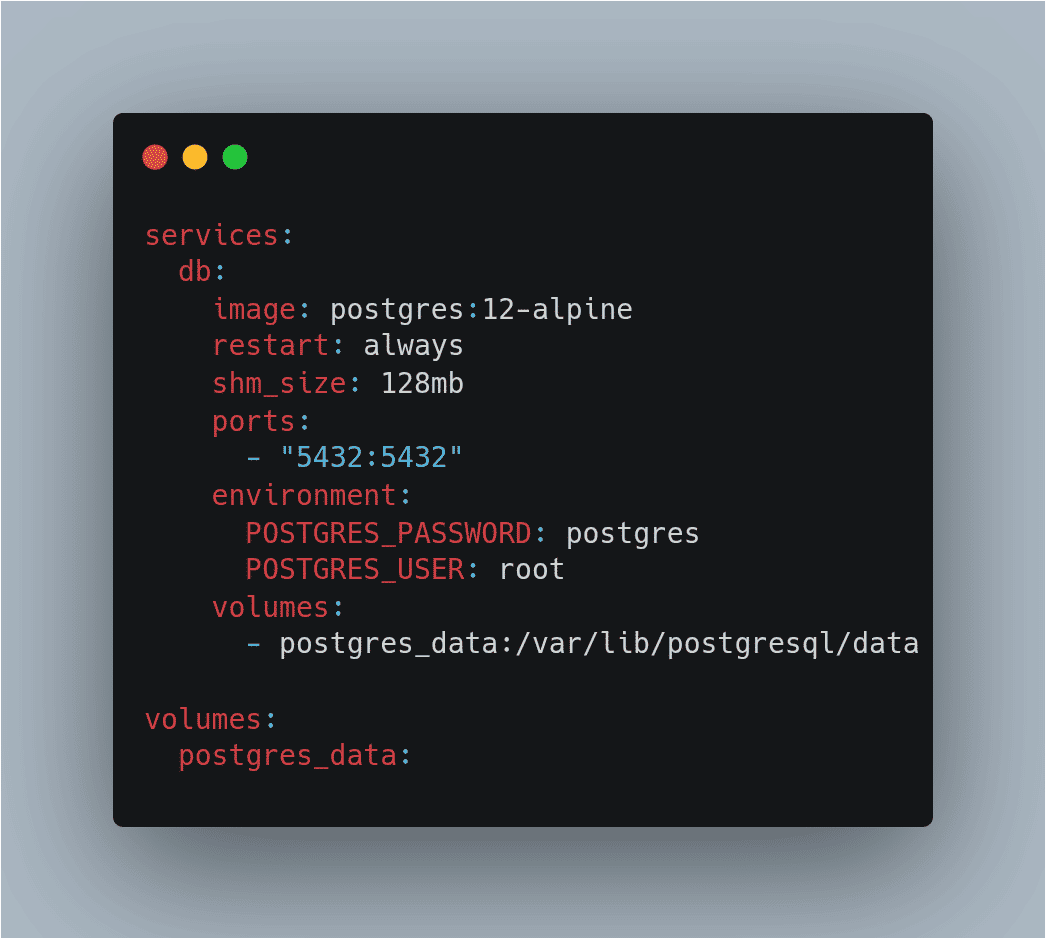
We'll use the following Docker Compose file to start a PostgreSQL container.
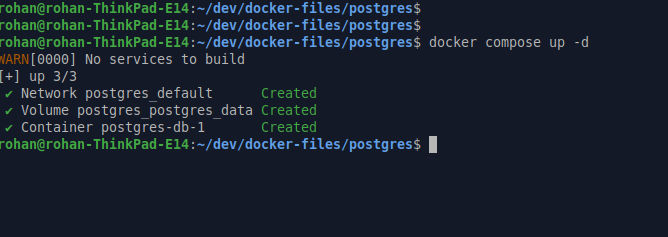
Start the database:
We'll also need the PostgreSQL client (psql) to interact with the database.
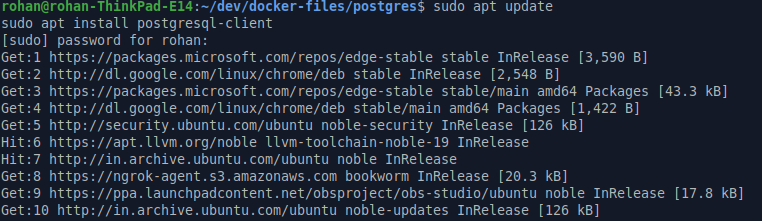
Install it using:
sudo apt update
sudo apt install postgresql-client
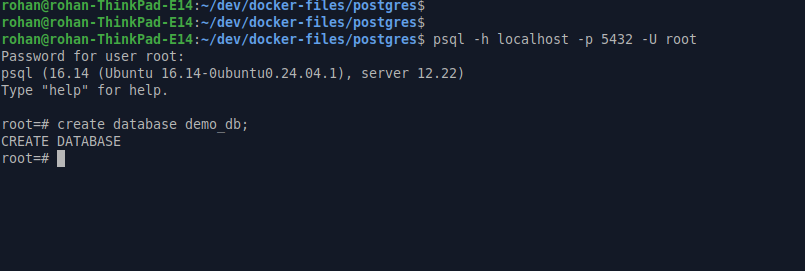
Once PostgreSQL is running, create a database that we'll use for this tutorial.
Step 3: Create Your First Migration
Create a migration by running:
migrate create -ext sql -dir . -seq init_schema
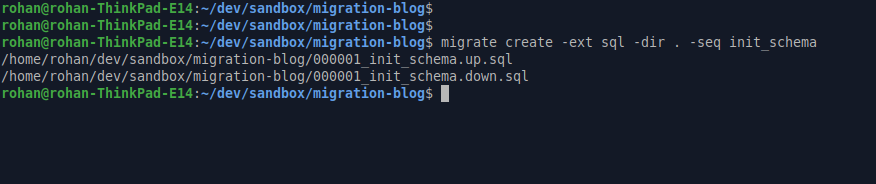
Let's understand what each flag does:
-ext sqlcreates SQL migration files.-dir .creates the files in the current directory.-sequses sequential numbering (000001,000002, ...).init_schemais the migration name.
This command creates two files:
000001_init_schema.up.sql
000001_init_schema.down.sql
The up migration applies your changes, while the down migration reverses them.
Step 4: Apply the Migration
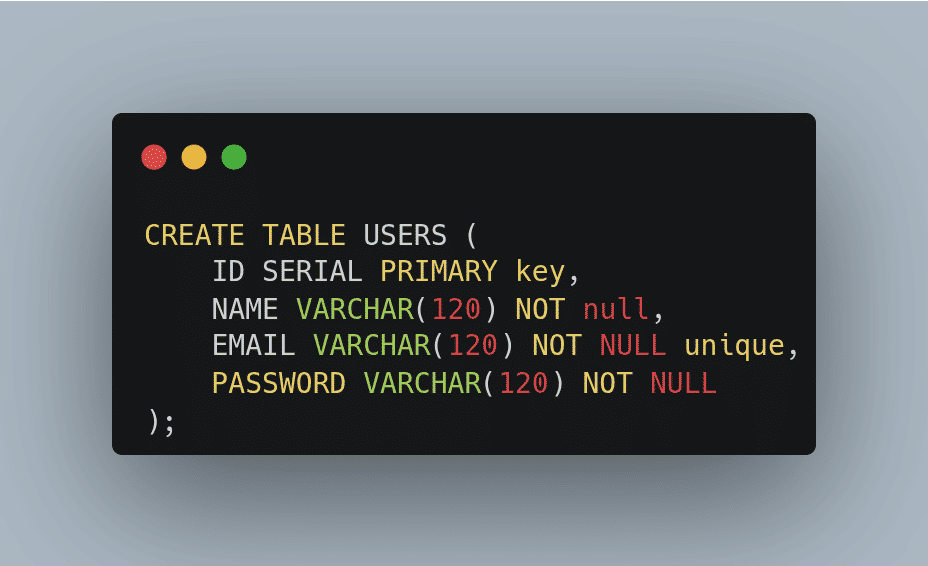
Open 000001_init_schema.up.sql.
First, create a table.
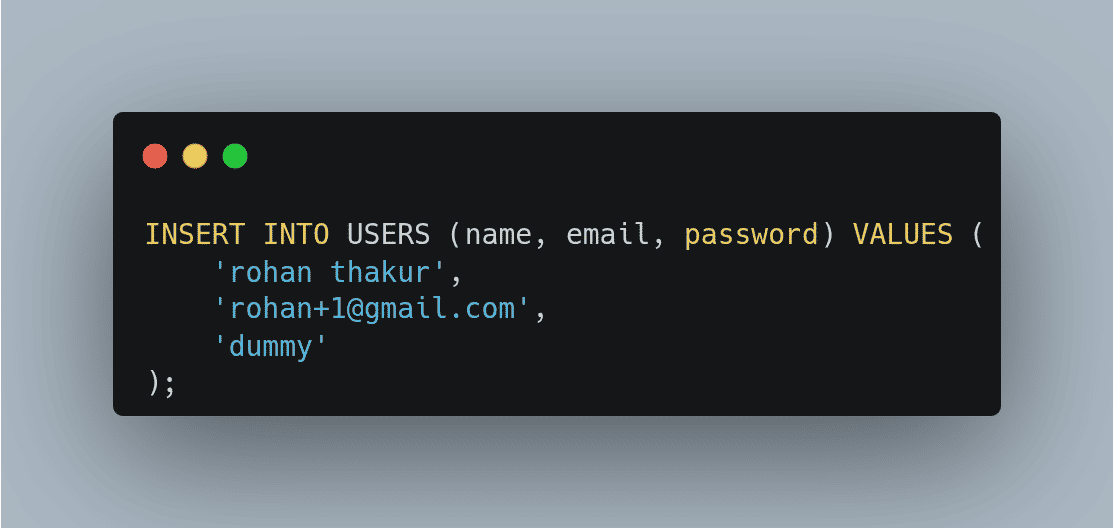
Then insert a few rows.
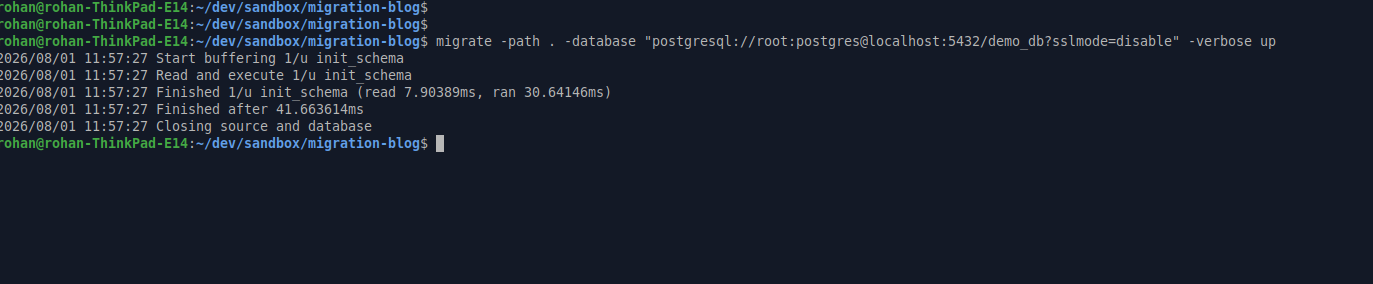
Now run the migration:
migrate \
  -path <path-to-migrations> \
  -database "postgres://root:postgres@localhost:5432/demo_db?sslmode=disable" \
  -verbose up
Here's what each option means:
-pathpoints to the directory containing your migration files.-databasespecifies the database connection string.upapplies all pending migrations.-verboseprints detailed logs while the migration runs.
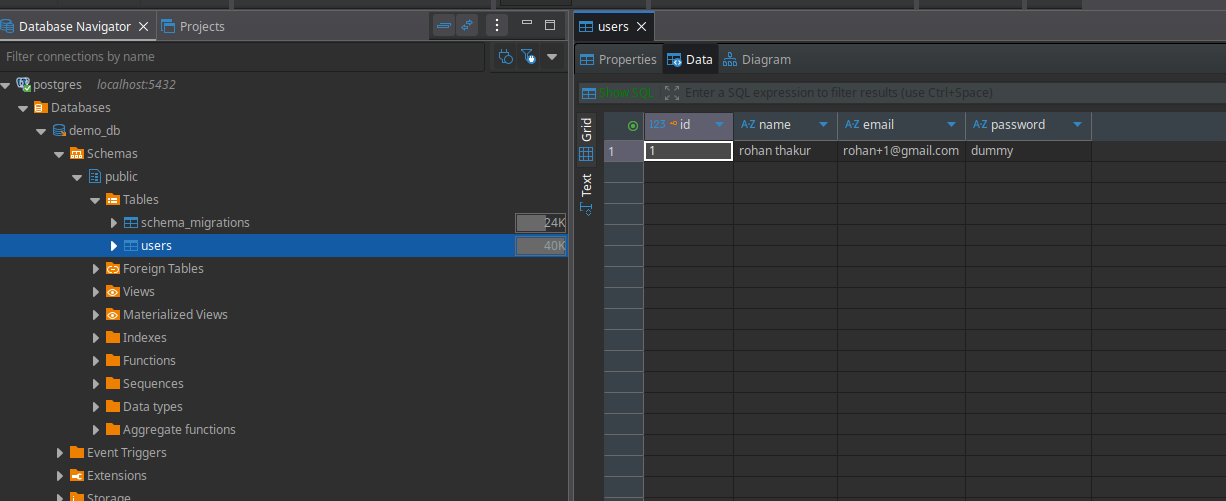
If everything succeeds, you'll see the new table along with the inserted data.
Step 5: Roll Back the Migration
Now let's undo the changes.
Open 000001_init_schema.down.sql and drop the table that was created in the up migration.
Run:
migrate \
  -path <path-to-migrations> \
  -database "postgres://root:postgres@localhost:5432/demo_db?sslmode=disable" \
  -verbose down
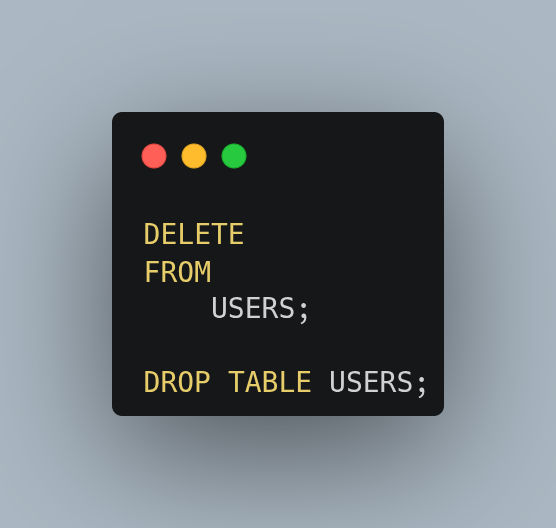
Apply the rollback:

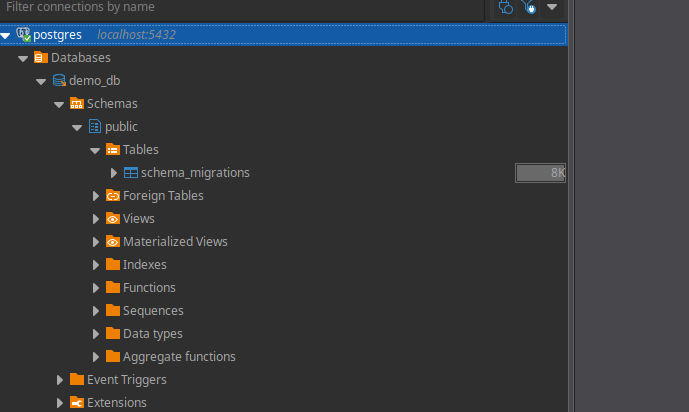
After the rollback, the table no longer exists.
Conclusion
You've now learned the basics of database migrations with go-migrate.
In this tutorial, we:
- Installed the go-migrate CLI.
- Started a PostgreSQL database.
- Created migration files.
- Applied a migration.
- Rolled it back.
Using migrations keeps your database schema version-controlled, makes deployments safer, and ensures every developer works with the same database structure.
Happy migrating!