Building a HTML5 game with KaplayJS
Introduction
Building 2D games is both fun and a great way to improve your coding skills. In this tutorial, we'll create a simple game using KaplayJS, a JavaScript game development library. The game is about controlling a character, "the bean," and helping it jump over pipes to avoid collisions. Let's break down the steps!

Setting Up the Game
First, let's set up the game project using the Kaplay CLI tool:
$ npx create-kaplay easy-leap
$ cd easy-leap
$ npm run dev
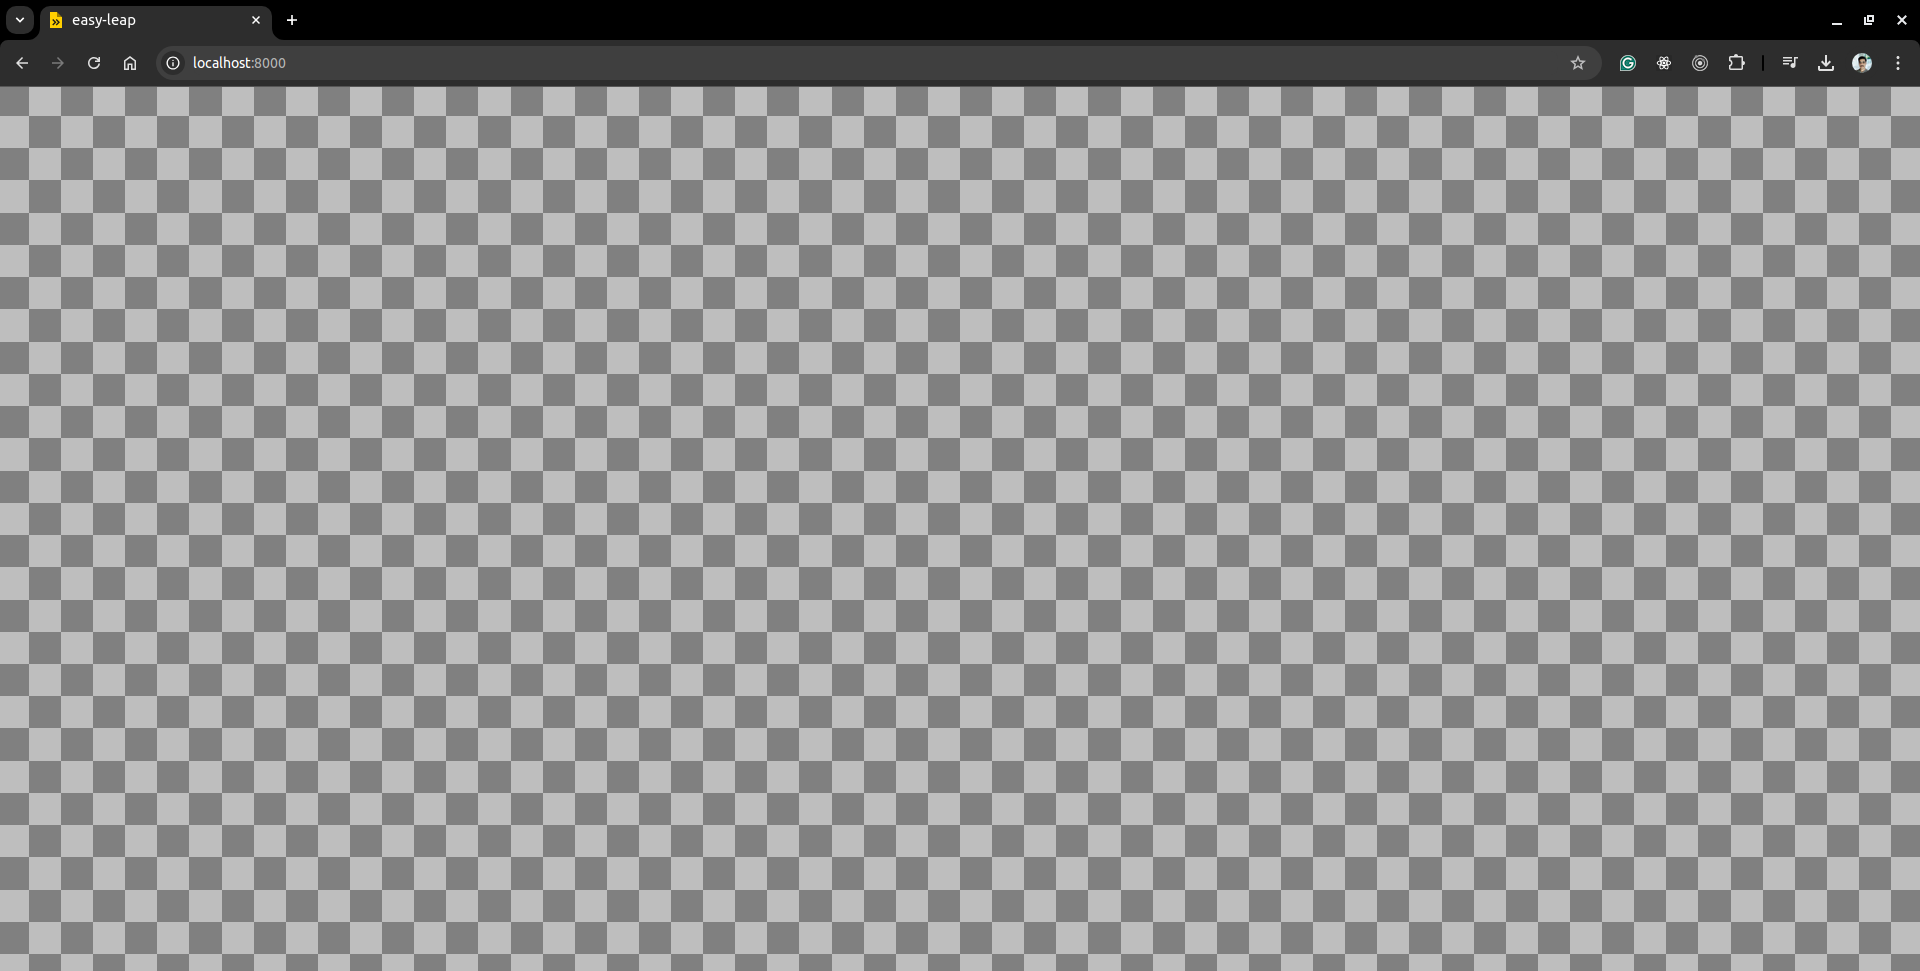
You'll see a basic layout like this in your browser:

Now, let's load our character sprite, "the bean," using the following code:
import kaplay from "kaplay";
import "kaplay/global";

const k = kaplay();

k.loadSprite("bean", "sprites/bean.png");
loadSprite()function loads the character image we'll use for our player.
Setting Gravity
Next, we set up the gravity for the game:
k.setGravity(3200);
This ensures the bean falls unless it jumps. We can also set the background color to sky blue:
setBackground(141, 183, 255);
Creating the Game Scene
In KaplayJS, game logic is organized in scenes, Here's how we define the main game scene:
k.scene("game", () => {
  // Game logic goes here
});
Now, let's initialize the bean and pipes inside this scene.
The Bean Character
We create our bean character using:
const bean = k.add([sprite("bean"), pos(width() / 4, 0), area(), body()]);
Here's what each part does:
sprite("bean"): Draws the bean sprite.pos(width() / 4, 0): Places the bean at a quarter of the screen's width and the top of the screen.area(): Adds a collider for detecting collisions.body(): Makes the bean affected by gravity and allows it to jump.
Jumping Mechanism
To make the bean jump, we add the following input controls:
const JUMP_FORCE = 800;

onKeyPress("space", () => bean.jump(JUMP_FORCE));
onGamepadButtonPress("south", () => bean.jump(JUMP_FORCE));
onClick(() => bean.jump(JUMP_FORCE));
- Spacebar for keyboard control.
- Gamepad button for controller users.
- Clicking for mobile or desktop users.
We also check for when the player falls, triggering a game-over state:
const CEILING = -60;

// check for fall death
bean.onUpdate(() => {
  if (bean.pos.y >= height() || bean.pos.y <= CEILING) {
    // switch to "lose" scene
    go("lose", score);
  }
});
Adding Pipes
The challenge of the game is avoiding pipes. Here's how we generate them:
const PIPE_OPEN = 240;
const PIPE_MIN = 60;
const SPEED = 320;

function spawnPipe() {
  const h1 = rand(PIPE_MIN, height() - PIPE_MIN - PIPE_OPEN);
  const h2 = height() - h1 - PIPE_OPEN;

  k.add([pos(width(), 0), rect(64, h1), area(), move(LEFT, SPEED), "pipe"]);

  k.add([
    pos(width(), h1 + PIPE_OPEN),
    rect(64, h2),
    area(),
    move(LEFT, SPEED),
    "pipe",
    { passed: false },
  ]);
}
rand()generates random heights for the pipes.add()creates the pipes as rectangles that move from right to left at a set speed.move(LEFT, SPEED)keeps the pipes moving across the screen.
This function creates pipes that move from right to left. We generate a new pipe every second:
k.loop(1, () => spawnPipe());
Scoring and Collisions
To track the score, we add the following code:
let score = 0;

// display score
const scoreLabel = k.add([
  text(score),
  anchor("center"),
  pos(width() / 2, 80),
  fixed(),
  z(100),
]);

function addScore() {
  score++;
  scoreLabel.text = score;
}
Points are added every time the bean successfully passes a pipe:
k.onUpdate("pipe", (p) => {
  if (p.pos.x + p.width <= bean.pos.x && p.passed === false) {
    addScore();
    p.passed = true;
  }
});
If the bean collides with a pipe, it's game over:
bean.onCollide("pipe", () => {
  go("lose", score);
  addKaboom(bean.pos);
});
Here's the final game scene:
k.scene("game", () => {
  const bean = k.add([sprite("bean"), pos(width() / 4, 0), area(), body()]);

  // check for fall death
  bean.onUpdate(() => {
    if (bean.pos.y >= height() || bean.pos.y <= CEILING) {
      // switch to "lose" scene
      go("lose", score);
    }
  });

  const CEILING = -60;

  // check for fall death
  bean.onUpdate(() => {
    if (bean.pos.y >= height() || bean.pos.y <= CEILING) {
      // switch to "lose" scene
      go("lose", score);
    }
  });

  const JUMP_FORCE = 800;

  onKeyPress("space", () => bean.jump(JUMP_FORCE));
  onGamepadButtonPress("south", () => bean.jump(JUMP_FORCE));
  onClick(() => bean.jump(JUMP_FORCE));

  const PIPE_OPEN = 240;
  const PIPE_MIN = 60;
  const SPEED = 320;

  function spawnPipe() {
    const h1 = rand(PIPE_MIN, height() - PIPE_MIN - PIPE_OPEN);
    const h2 = height() - h1 - PIPE_OPEN;

    k.add([pos(width(), 0), rect(64, h1), area(), move(LEFT, SPEED), "pipe"]);

    k.add([
      pos(width(), h1 + PIPE_OPEN),
      rect(64, h2),
      area(),
      move(LEFT, SPEED),
      "pipe",
      { passed: false },
    ]);
  }

  k.loop(1, () => spawnPipe());

  let score = 0;

  // display score
  const scoreLabel = k.add([
    text(score),
    anchor("center"),
    pos(width() / 2, 80),
    fixed(),
    z(100),
  ]);

  function addScore() {
    score++;
    scoreLabel.text = score;
  }

  k.onUpdate("pipe", (p) => {
    if (p.pos.x + p.width <= bean.pos.x && p.passed === false) {
      addScore();
      p.passed = true;
    }
  });

  bean.onCollide("pipe", () => {
    go("lose", score);
    addKaboom(bean.pos);
    destroy(bean);
  });
});
The Lose Scene
When the player loses, we switch to a lose scene to display the final score:
scene("lose", (score) => {
  k.add([
    sprite("bean"),
    pos(width() / 2, height() / 2 - 108),
    scale(3),
    anchor("center"),
  ]);
  k.add([
    text(score),
    pos(width() / 2, height() / 2 + 108),
    scale(3),
    anchor("center"),
  ]);

  onKeyPress("space", () => go("game"));
  onClick(() => go("game"));
});
Here, the player can restart the game by pressing space or clicking anywhere.
Game Initialization
The game starts with:
go("game");
This loads the "game" scene and kicks off the gameplay.
Publishing on itch.io
To publish your game on itch.io:
-
Build the game:
$ npm run bundleThis creates a ZIP file in the dist folder.
-
Upload the ZIP to itch.io:
- Sign in to itch.io.
- Create a new project and select HTML as the project type.
- Upload the ZIP and enable "This file will be played in the browser."
-
Publish: Click "Save and View Page," and once everything looks good, click "Publish."
Happy coding!

